Sony A7RV Straight Out of Camera JPGs: First Experience with Creative Looks
Sony A7RV Straight Out of Camera JPGs: First Experience with Creative Looks
Coming from a Fujifilm XT5, I’m no stranger to the beauty of shooting in both RAW and JPG. Fujifilm has always impressed me with their JPGs—sometimes even surpassing what I could achieve by editing RAW files myself. However, in the past, I found Sony’s JPGs to be a little uninspiring. So, when I heard that the Sony A7RV introduced updates like improved auto white balance and customizable “Creative Looks,” I had to give them a try.
The Experiment: Can Creative Looks Match a Client’s Vision?
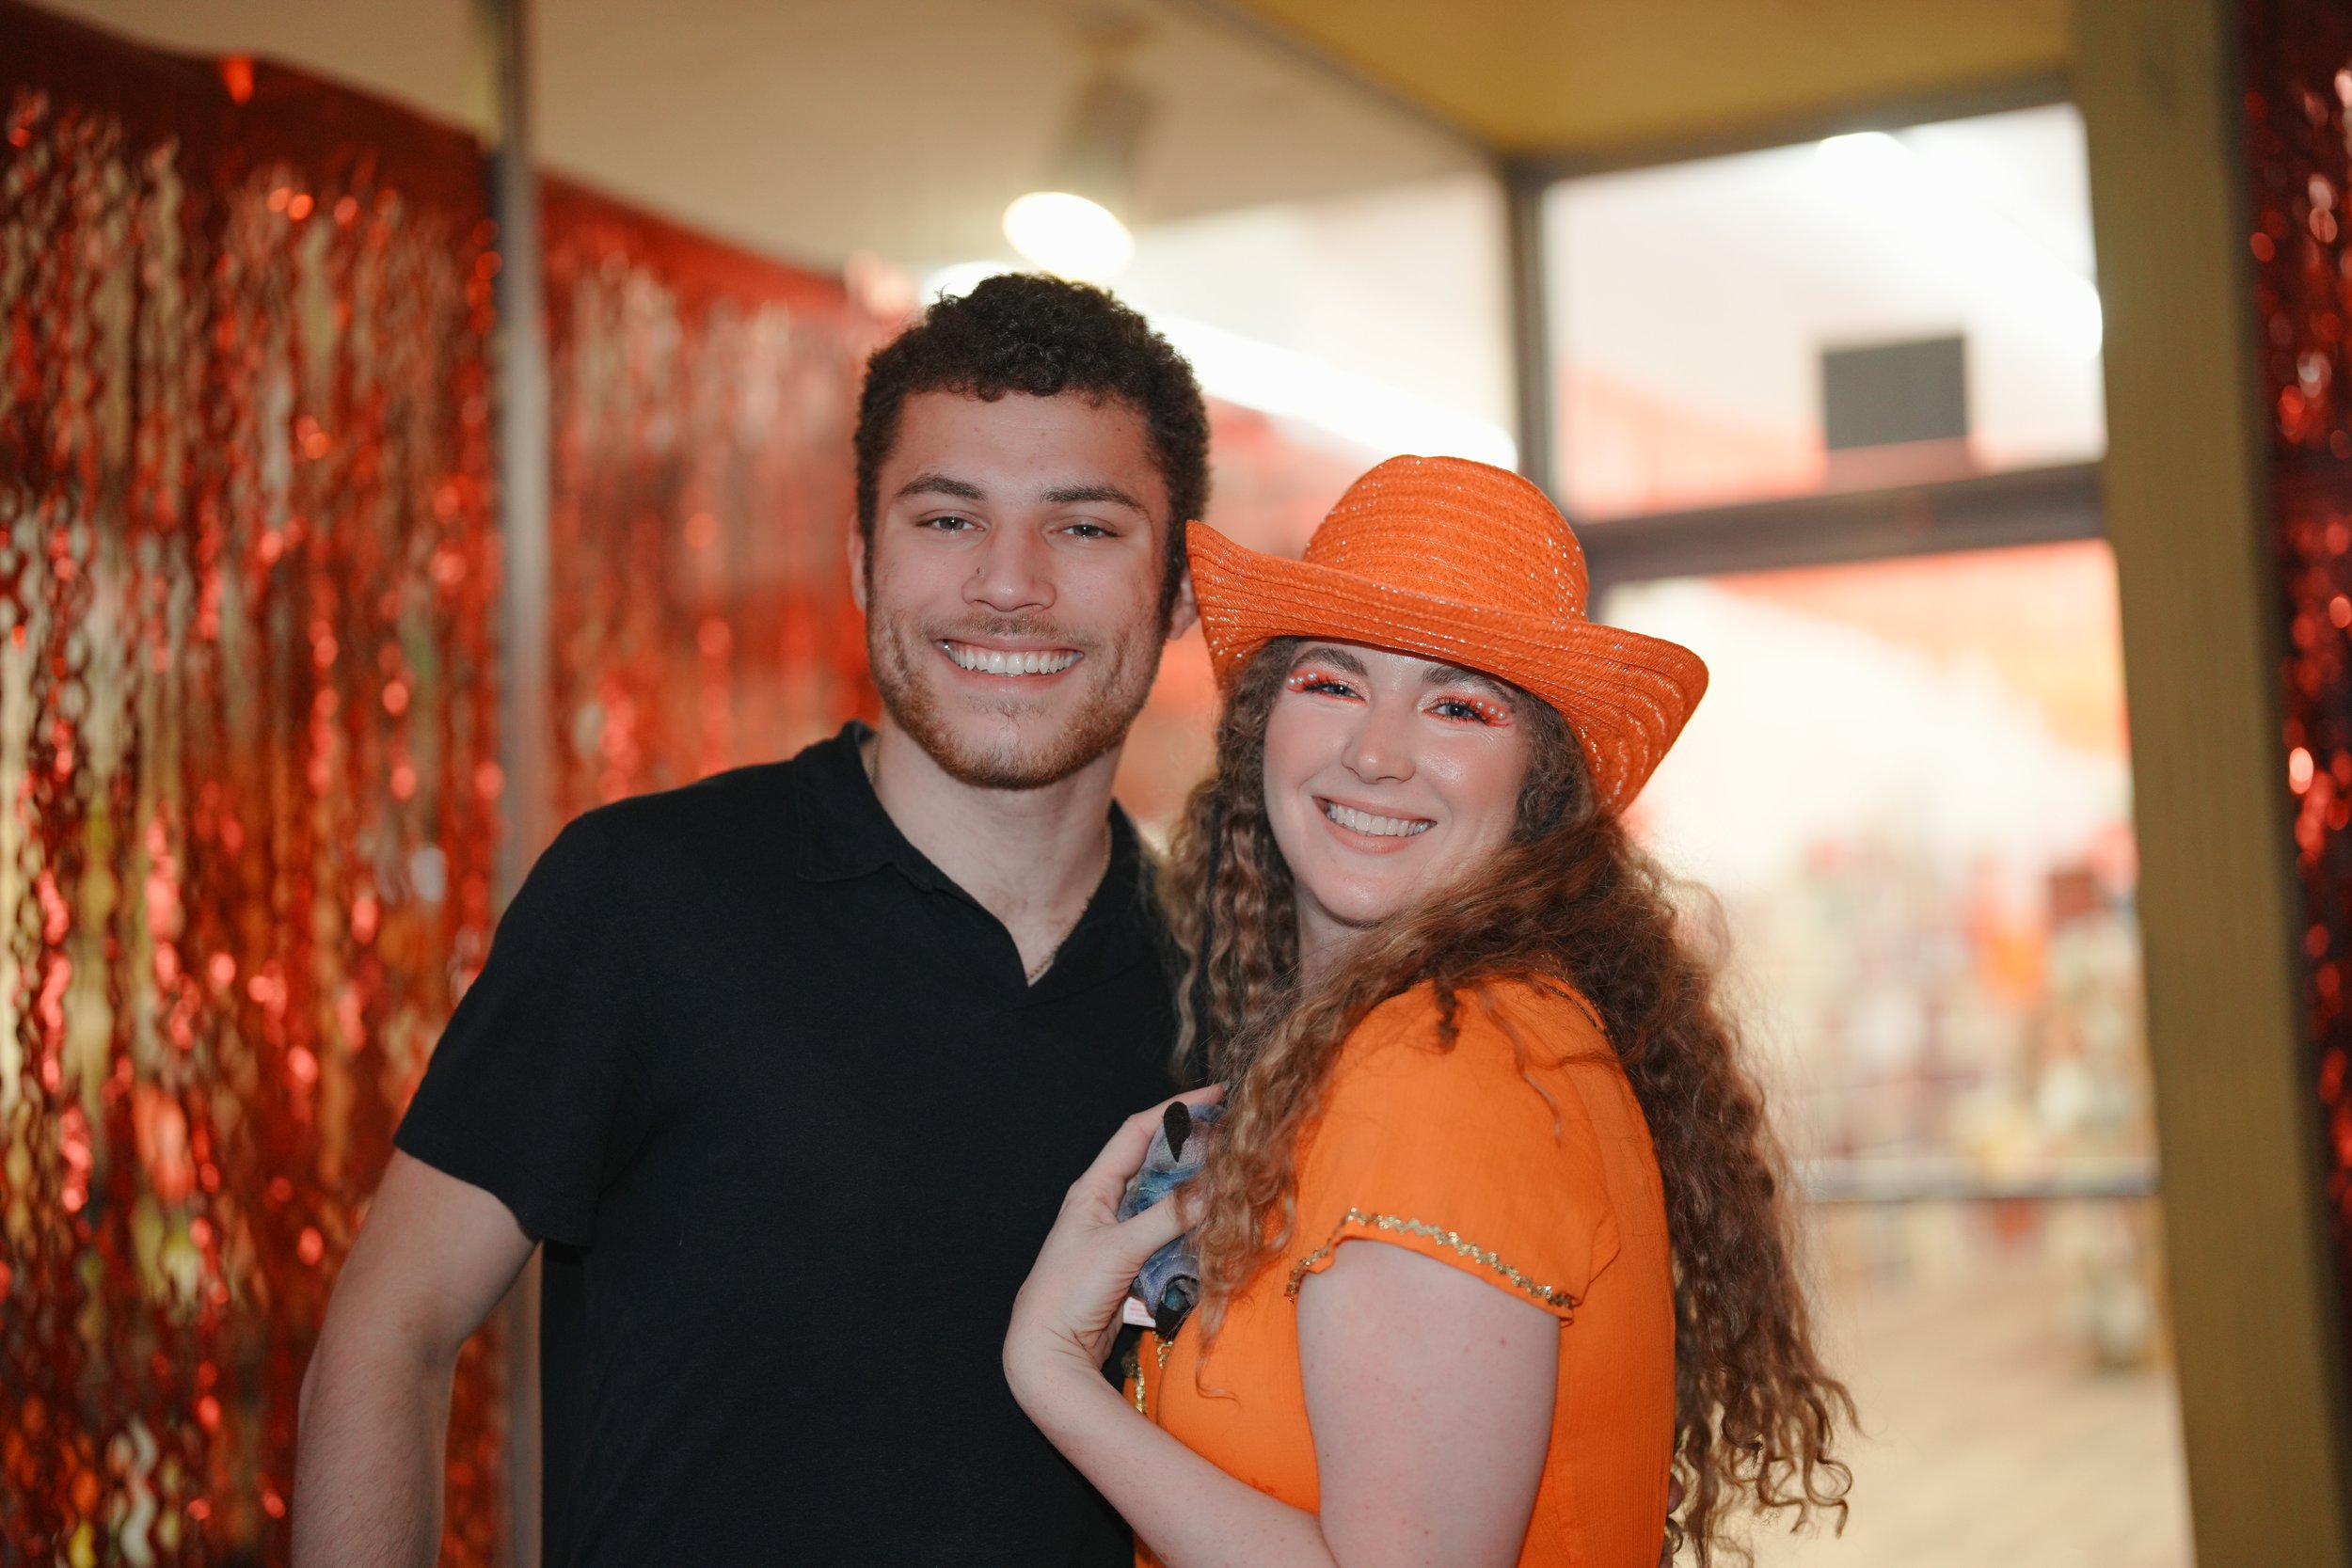
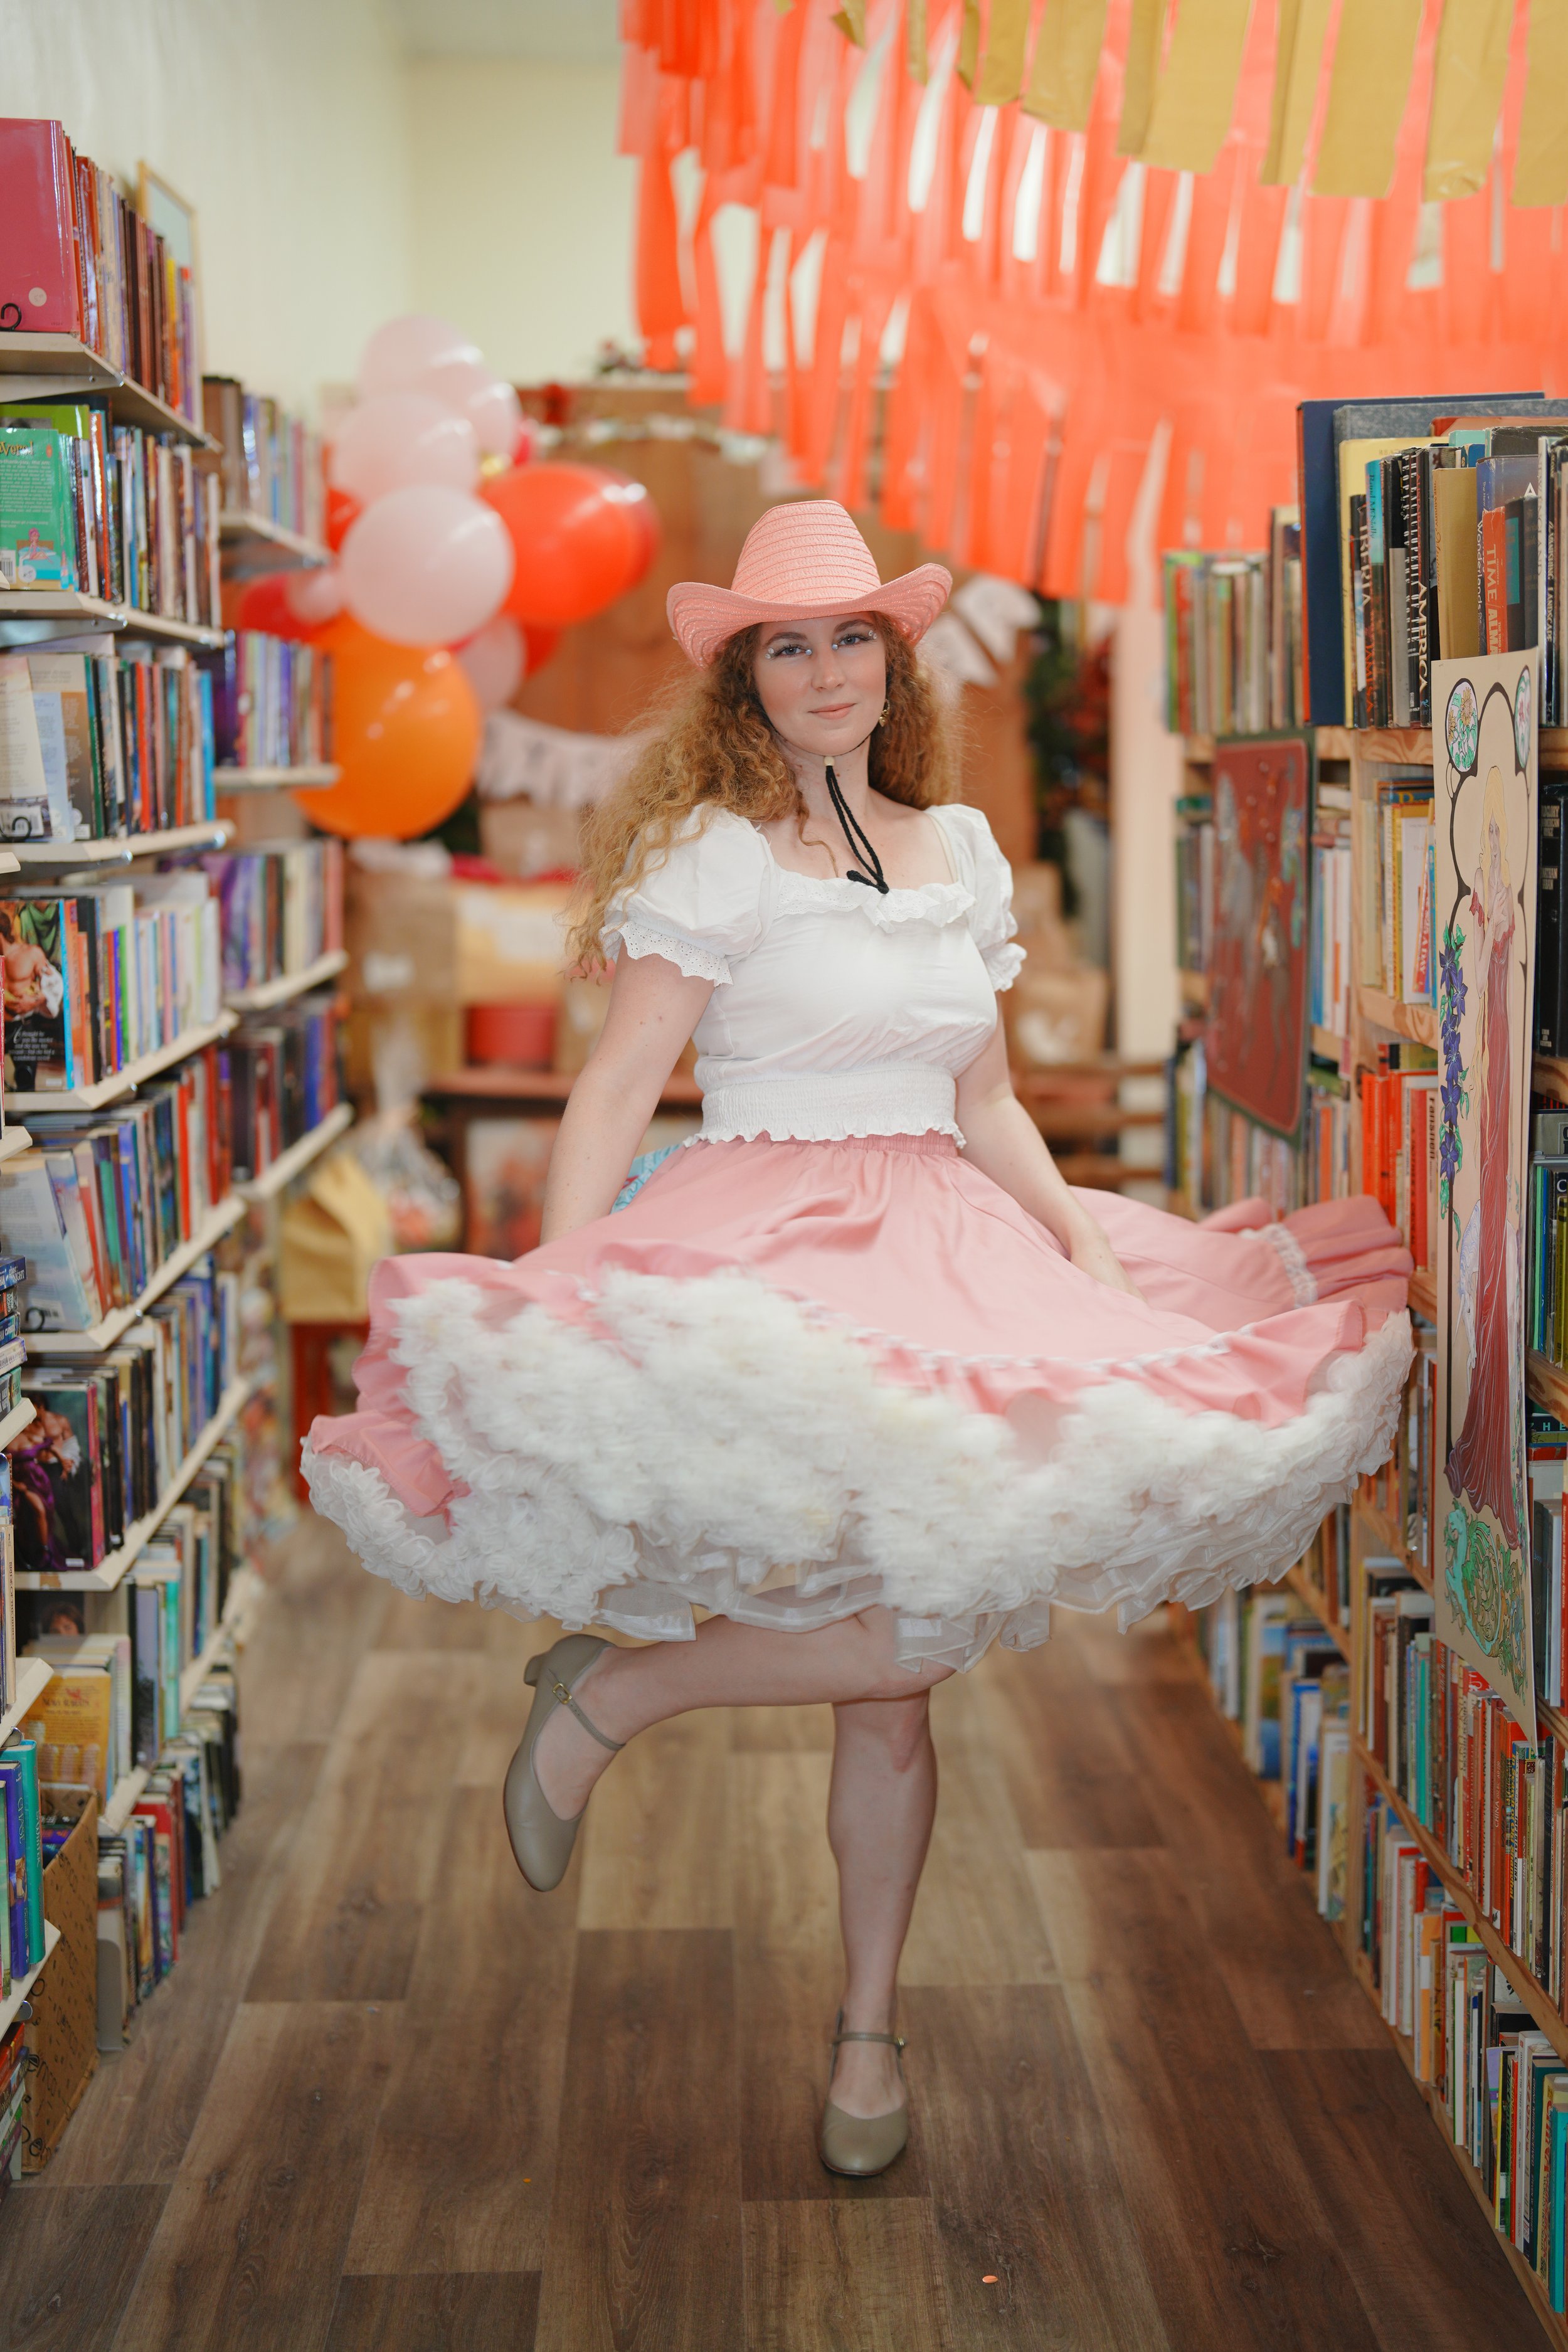
I had a two-day art event to photograph inside a cozy bookshop. Before the event, I discussed the desired look and feel of the images with the owner, and I wondered—could I use a “Creative Look” to match her vision? If successful, I could deliver her photos almost immediately, ready for her to post online without much editing.
To my surprise, the results were fantastic. The Sony A7RV’s JPGs, straight out of the camera, exceeded my expectations. Using the settings below, I achieved a polished look with vibrant yet natural tones that perfectly captured the event. The quick turnaround time impressed both me and my client, and I could see real potential for using this workflow in the future.
Here’s the “Creative Look” I used for the event:
• SH Profile
• Contrast: +2
• Highlights: -9
• Shadows: +2
• Fade: +1
• Saturation: +2 or +3
• Sharpness: 4
• Sharpness Range: 3
• Clarity: +1
I also used a Sony flash during the event to achieve the slightly polished look my client wanted, which you’ll notice in the images below.
PS More experiments and creative look ideas to come.